Configuring Financial Models
Requires the Insights Plus or Full Platform plansCreating and editing your own financial models requires you to be on the Insights Plus or Full Platform plans. Please contact us ([email protected]) to learn more!
Creating a Financial Model
You may create a financial model in several ways:
- From the Exabel main menu, under Dashboards → Create financial model. This brings up the creation wizard.
- From any company page, on the left-hand "Financial models" pane.
- Copy any existing financial model by using the "Save as" action.
Creation wizard
Creating a financial model from the menubar brings up the creation wizard. From here, simply pick one or more companies to get started, which will take you to the editing screen.

From any company page
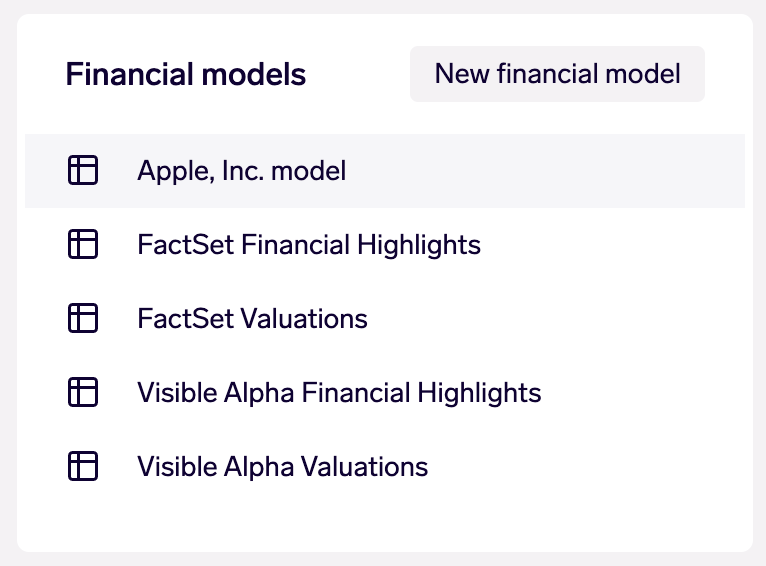
On any company page, the left-hand panel shows a list of drill-downs and financial models available for that company. The "New financial model" button will create a new financial model for the company you are currently viewing. This skips the wizard and takes you straight to the editing screen.

Copy an existing model
When viewing any financial model, you may make a copy to your personal folder by clicking on the "Save as" button. If you have write-access to the financial model, the "Save as" action will be found under the ⋯ overflow menu.

"Save as" allows you to copy and customize any existing financial model
Editing a Financial Model
You may edit any financial model that you have write-access to - this includes those you have created yourself, and those that have been shared (via the Library) to you with write access.
While viewing any financial model, simply click the "Edit" button to switch to edit mode. If creating a new financial model, you will be brought straight into edit mode.

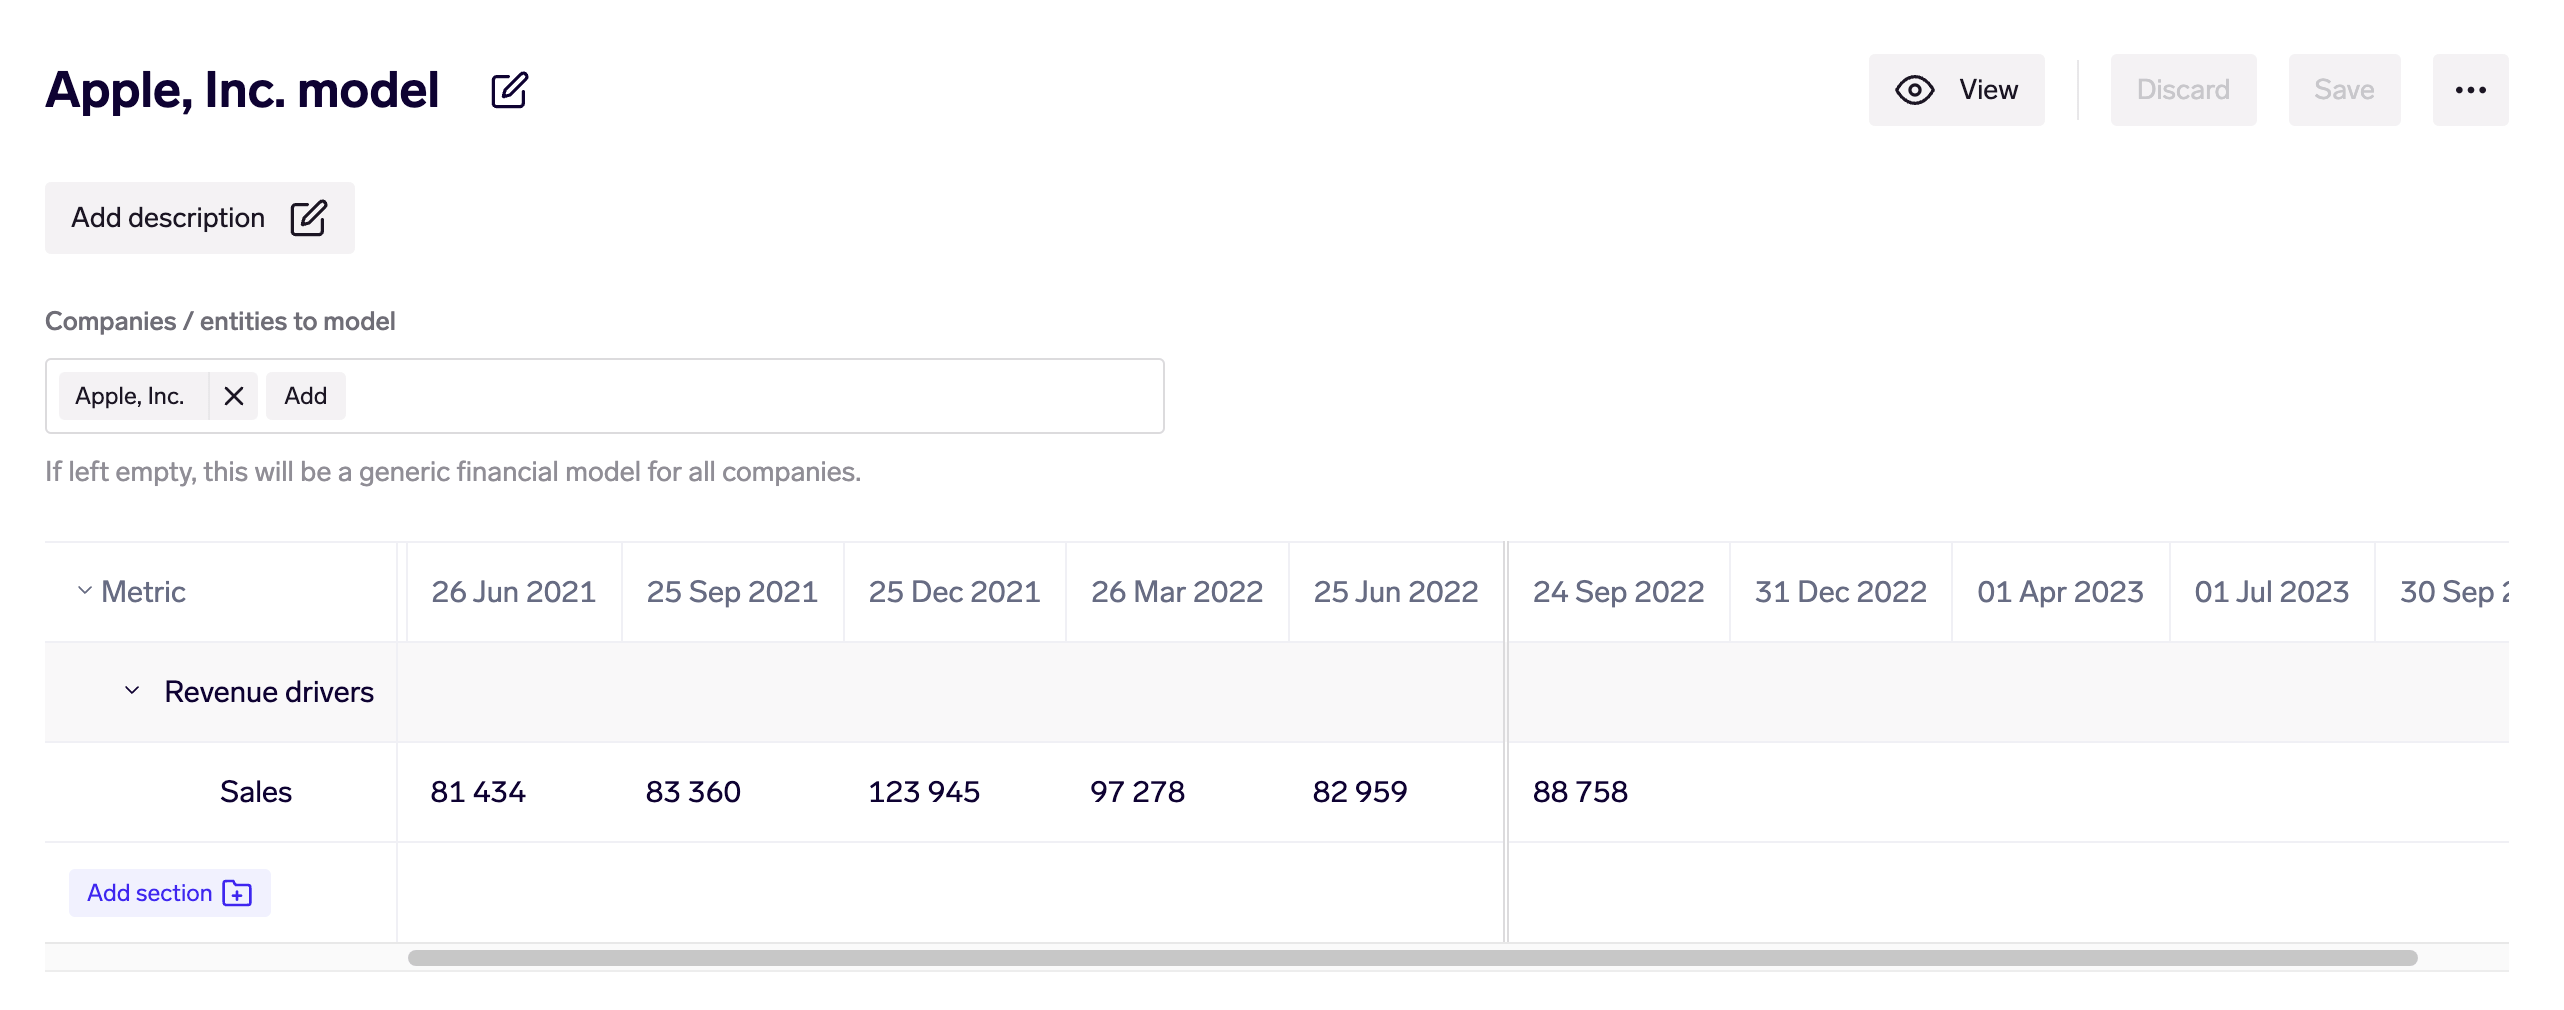
A financial model in edit mode
Name & description
You may edit the name and description (optional) of the model here. Note that both the name and description will be visible in the Library, to let you easily identify your models.
View / save / discard
The "View" button takes you back to view mode. "Save" will save a changes you have made to the financial model. "Discard" will reset the model to its last-saved state.
Companies to model
Under "Companies / entities to model", specify a list of companies that the financial model should be applicable for. You may also use a combination of companies and tags. If multiple tags are specified, the financial model will be available for all companies that are found in any of the tags.
Sections
Click on the "Add section" button to add a new section. Sections may be re-ordered by drag-and-drop, and deleted by clicking on the delete button while moving your mouse over the section title.
Rows
To add a row to a section, mouse-over the section and click the + button. To add a child row to an existing row, mouse-over the row and similarly click the + button.
Rows may be re-ordered within a section by drag-and-drop. Child rows may be similarly re-ordered amongst other sibling rows.
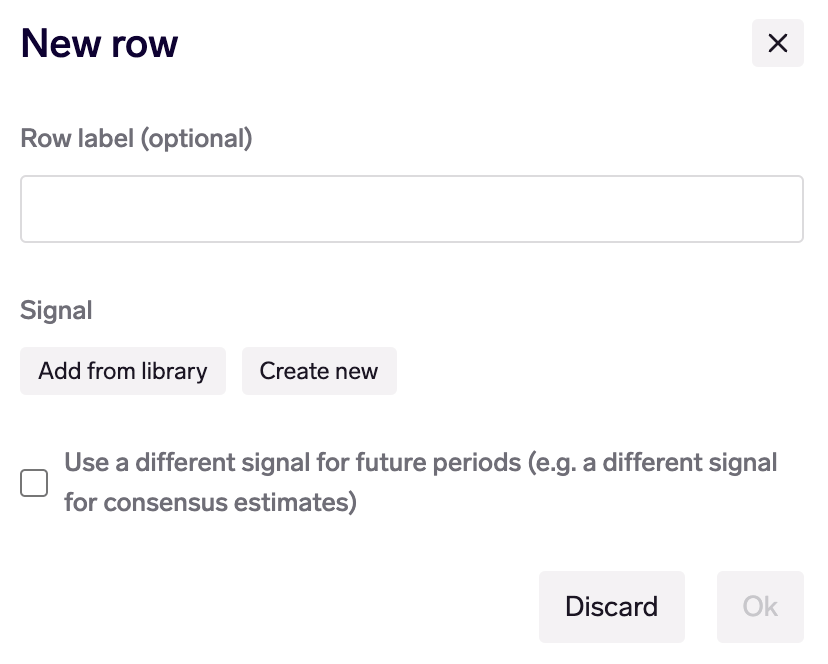
When adding or editing a row, you will see the row settings dialog, which allows you to configure the signal(s) to be used as well as an optional display name. You may pick an existing derived signal from your Library, or create a new custom expression.

Creating a new financial model row
While working with signals here, you may save new signals to your Library, or update existing ones, just like you would in Plotter.
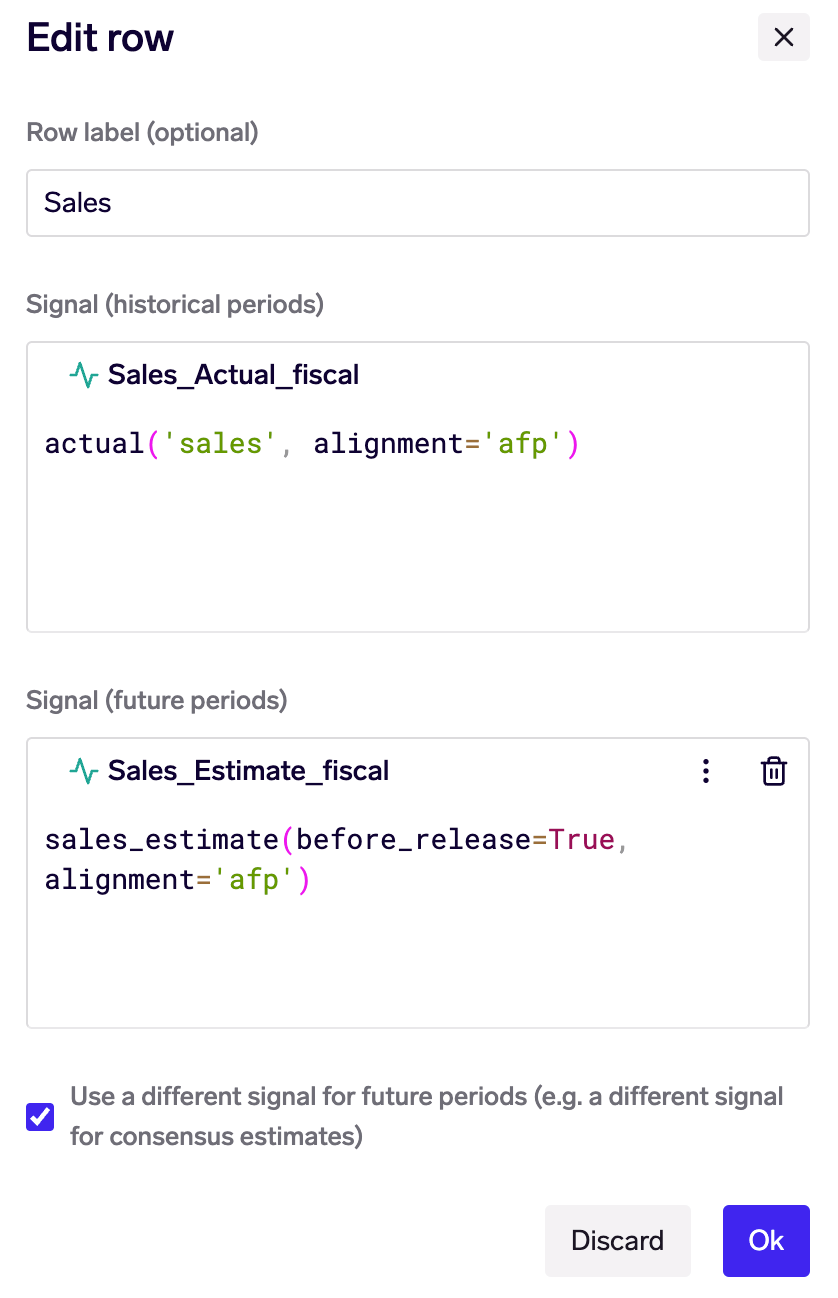
You may also configure a row to use two separate signals for the historic and future periods. This is helpful for working with actuals & consensus data, which are typically represented as different signals:

A financial model row with separate historic & future period signals
Updated 2 months ago